Showing posts with label Armada. Show all posts

Saturday, October 31, 2015

Incompetence of the COMPNOR

. . .COMPNOR spokesman Prop. . .


Alliance Free News interrupts this usual Imperial propaganda to bring you this story. 

We are seeing reports that Commission for the Preservation of the New Order (COMPNOR) is denying the activity of the Alliance in the Dellalt system. This is due mainly to the incompetence of their analysts in that region. As a source of free information for our subscribers, AFN has no need to distort the truth or put a "spin" on the facts. 

It is sad that HNN is still the disreputable source of information and is beholden to the "facts" provided by Imperial organizations that would tell you that they are right as the roof collapses on their heads. 

While it is true that the Alliance suffered set backs and was repulsed by Grand Admiral Mikael in the Turkana system after liberating the system from Empire, the Alliance won decisive victories not only against the Empire but against pirates who sought to prey on the now free citizens of Shaylin.

I have no doubt that the Alliance will attempt to free Turkana once again from the ravages of the Empire and when they do there will be much rejoicing. Until that time, our hopes go out to those under oppression and we look forward to the time they will be free.

This is Alliance Free News the voice of the Rebellion signing off.


. . .peace and stability back to the Calamari sector. . .


Friday, October 30, 2015

Imperial forces Routed at Dellat. . . again

. . .orces returned to Caluula, havin. . .


Alliance Free News interrupts this standard Imperial propaganda to bring you this story. 

Analyst Lijhitil bringing you this news directly from the front lines for your freedom. 

This week in the Dellalt system there was another battle for the freedom of those who live there and I am excited to report that the Imperial forces were driven back a second time! This battle was commanded by Commander Lyraeus aboard the Blue Citadel. He was mentoring an up and coming commander on his first step in resisting the Empire.

The battle was fierce and it was found that the leader of the Imperial forces was none other than Grand Admiral Mikael! This fiend is known for the countless suffering of the Dac system and along the outer rim worlds. He has prosecuted a war of terror on dozens of worlds and is a menace to the words freedom. 
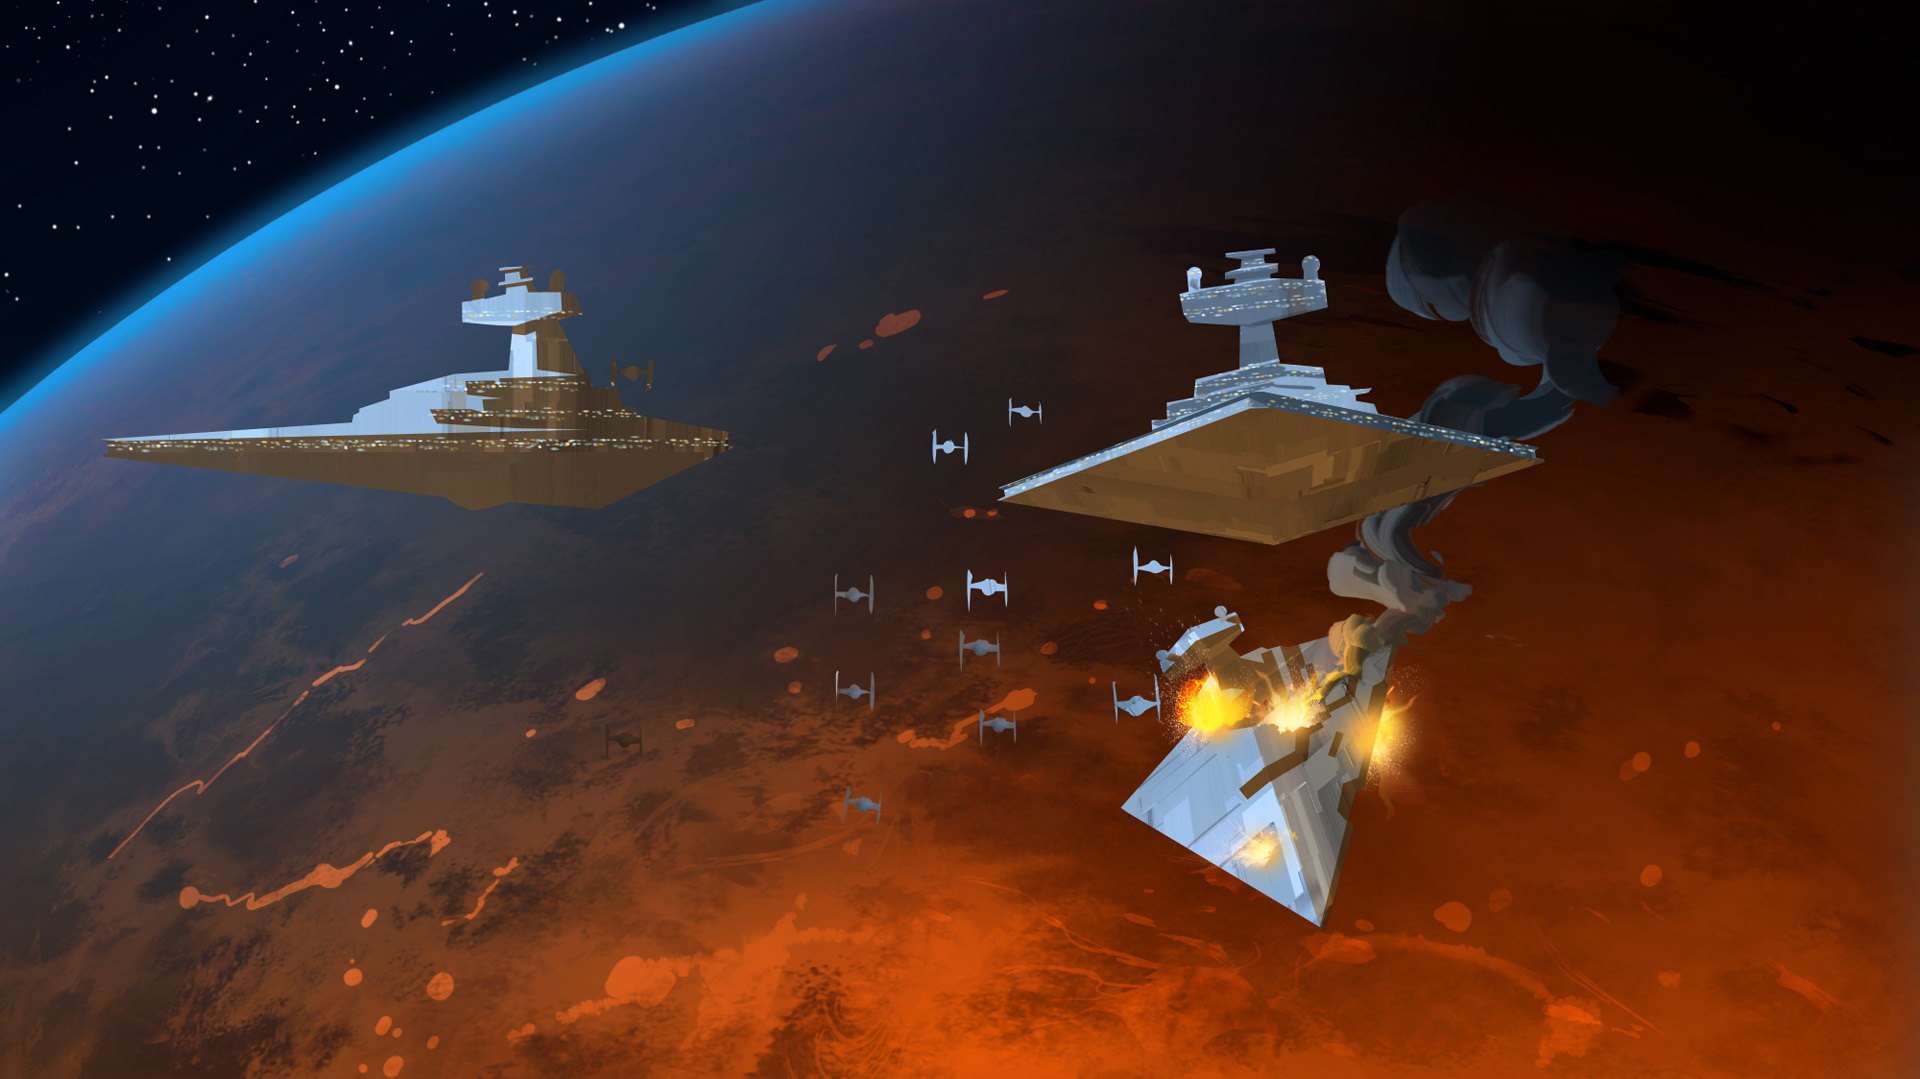
Grand Admiral Mikael's temporary flagship chasing the Blue Citadel


Though, Commander was faced against this terror, he was able to pull a victory out of what seemed to be the Jaws of defeat! One of his fledgling commanders Assault frigates as beset by the Grand Admirals henchman's Gladiator's and was forces to withdraw from the battlefield though not before causing considerable damage to the dreaded Gladiator Demolisher as well as severely crippling another Gladiator before the Imperials fled the system.

I, am saddened by the deaths aboard the Scars of Freedom but those noble sacrifices make this push for freedom a reality. Thank you brave souls for the sacrifice you have made for those of us who wish for freedom.


This is Alliance Free News the voice of the Rebellion signing off.

. . .casualties suffered on the. . .


LOCATION: Portland Game Store (Friday night casual)
DATE: 23OCT2015


SYSTEM: Dellalt system
WINNER: Rebels had a significant point lead (8 victory tokens for Rebels to 0)
POINTS: 600
OBJECTIVE: Precision Strike
INITIATIVE: Empire

REBELS: Warlord Lyraeus & Jack

Lyraeus:
MC80 Command Cruiser 
(Blue Citadel)
     Admiral Ackbar
     Home One 
     Boosted Comms 
     Nav Team 
     Raymus Antilles 

CR90 Corvette A (Blue Pawn)
     Jaina's Light
     Slaved Turrets 

Squadrons:
Keyan Farlander (La'hil No'kri ) - Novablaze Squadron
Tycho Celchu (Riuka Nadori) - Lightning Squadron*
A-Wing - Tornado Squadron*
B-Wing Squadron - Nova Squadron
B-Wing Squadron - Grim Squadron

Jack:

Assault Frigate MKIIB (Orca's Pride)
     Advanced Projectors 
     Gunnery Team
     Phylon Q7 Tractor Beams 
     XI7 Turbolasers


Assault Frigate MKIIB (Scars of Freedom)*
     Advanced Projectors 
     Gunnery Team
     Phylon Q7 Tractor Beams 
     XI7 Turbolasers


CR90 Corvette A (Light of Freedom)*
     Electronic Countermeasures
     Turbolaser Reroute Circuits

Squadrons:
A-Wing - Flash Squadron

A-Wing - Sonic Squadron
X-Wing - Blunder Squadron*

X-Wing - Boomer Squadron

EMPIRE: Mikael Hasselstein & Max

Mikael:
Victory II-class Star Destroyer

     Admiral Screed
     Intel Officer
     Boosted Comms
     XI7 Turbolasers
     Corrupter

Raider I-class Corvette


Squadrons:
Darth Vader
Major Rhymer
Soontir Fel
"Mauler" Mithel

TIE Fighter Squadron
TIE Bomber Squadron
TIE Bomber Squadron
TIE Bomber Squadron
TIE Bomber Squadron
TIE Bomber Squadron

Max:
Gladiator I-class Star Destroyer*

     Gunnery Teams
     Engine Techs
     Assault Concussion Missiles
     Demolisher

Gladiator I-class Star Destroyer 

     Gunnery Teams
     Assault Concussion Missiles


Gladiator I-class Star Destroyer 
     Gunnery Teams
     Assault Concussion Missiles

Gladiator I-class Star Destroyer*
     Gunnery Teams
     Assault Concussion Missiles

Tuesday, October 27, 2015

Analyst joining the Blue Fleet led by Commander Lyraeus

. . . and in reviewing and . . . 


Alliance Free News interrupts your the Imperial propaganda whom is subverting the truth.


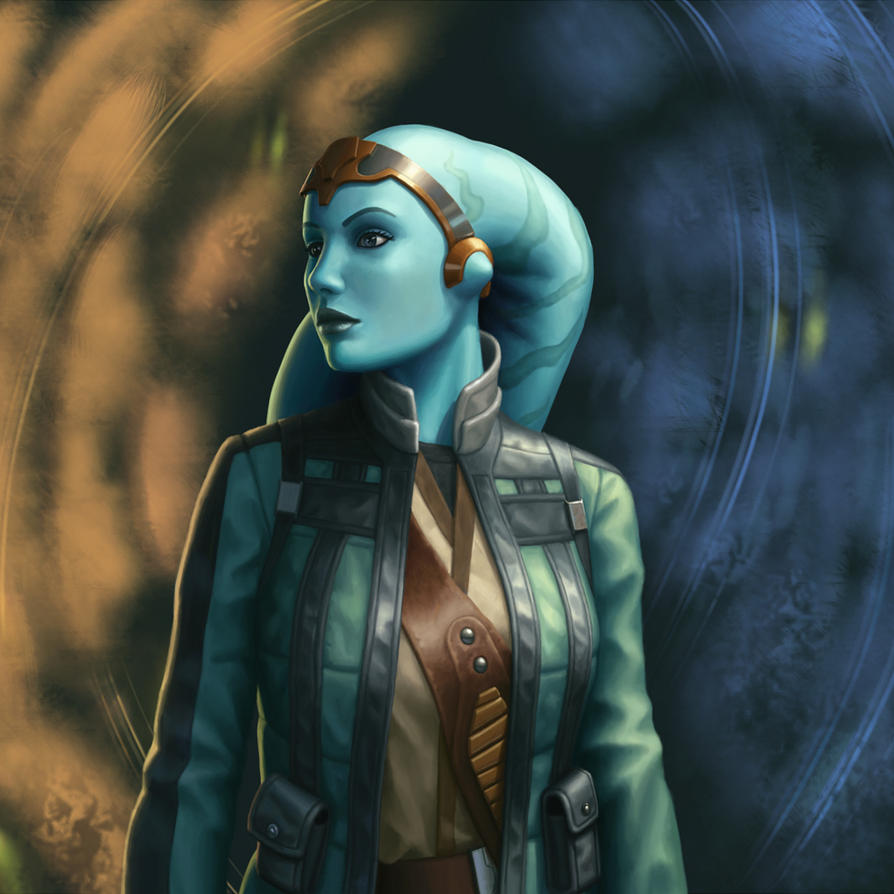
This report is from news analyst Lijhitil who has been accepted as part of Commander Lyraeus's support staff. She will be reporting what the good Commander is up to in his campaign to free the enslaved from the tyranny that is known to be the Galactic Empire.
Analyst Lijhitil


This is Lijhitil on board the current flagship of Commander Lyraeus, the Blue Citadel. Over the last few days I have watched and observed the Commander and the men and women aboard this Citadel finding them all high in moral and are ready to face the challenges of ridding our systems of the Imperial menace. I look forward to bringing you more news from the front. 


We thank Lijhitil for her sacrifice in taking on this dangerous duty and we look to hear more from her.

This is Alliance Free News the voice of the Rebellion signing off.

. . .rating both the wo. . .


Friday, October 23, 2015

Alliance forces routed in relief efforts for Mon Calamari

. . .revitalization program ordered by t. . . 


Alliance Free News interrupts your standard Imperial propaganda to bring you this story. 

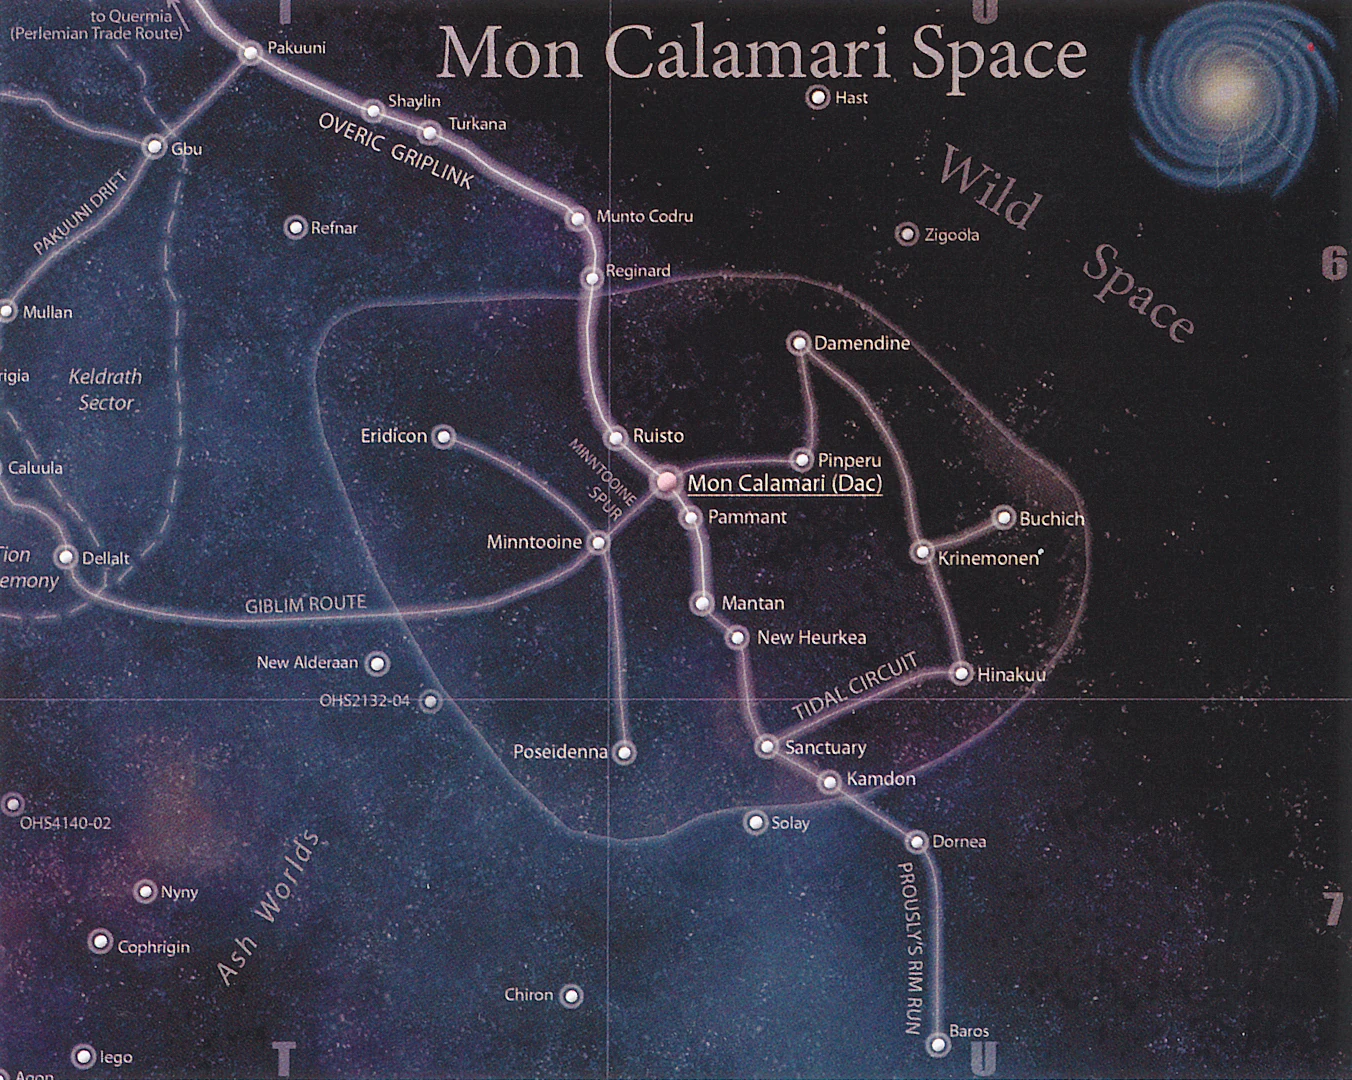
Combat occurred along the Minntoonie Spur
Reports from the battle front have come in recently and we are sad to report that Captain Shadowmax has suffered a defeat at the hands of Admiral Bonner. This defeat will cause harsher standards of living for those living on Mon Calamari who rely on the Minntoonie system for supplies.

Captain Shadowmax was running the blockade of the Minntoonite Spur to bring much needed food and medical supplies to the residents of Mon Calamari. 

Due to this unfortunate turn of events we at Alliance Free News are sad to say that through this unjustifiable blockade by the Imperial Navy will cause the deaths of younglings. Their cold and hungry forms will be in our minds and we hope they will be in yours.

We will inform you further on this situation as more news becomes available. We hope that another member of the Alliance will attempt the run for all those young ones. 

This is Alliance Free News the voice of the Rebellion signing off.


. . . recapture the Shayling and Turkana systems within the com. . .


System: Eridicon
WINNER: Admiral Bonner (Empire)
POINTS: 400
OBJECTIVE: Advanced Gunnery

400pts REBELS: Captain Shadowmax

Assault Frigate Mark IIB (the Lucky Jack)
     General Dodonna
     Gunnery Teams
     Adv Proj,
     Enhanced Armaments

Assault Frigate Mark IIB (the Greasy Bastard)

     Gunnery Teams
     Adv Proj,
     Enhanced Armaments

Nebulon-B Escort 
     Yavaris
     Raymus Antillies

Squadrons:
Keyan Farlander

B-Wing Squadron
B-Wing Squadron
Luke Sykwalker

X-Wing Squadron
X-Wing Squadron
Tycho Celcho
A-Wing Squadron
398pts EMPIRE: Admiral Bonner


Victory II-class Star Destroyer

     Grand Moff Tarkin
     Intel Officer

Victory I-class Star Destroyer

     Wulf Yularen
     Flight Controllers
     Expanded  Hanger Bay

Vic I 

     Weapons Liaison Squadrons:
Darth VaderTIE Advanced Squadron

TIE Advanced Squadron
Soontir Fel
TIE Interceptor

TIE Interceptor
Major Rhymer


From Captain Shadowmax's notes on the battle:

The battle opened with all 3 Vics approaching along an angled vector 3 abreast, with the Flagship "Slasher" on the left flank.

The Rebs moved on an intercept course to try and cut off one of the Vic I's from getting around the right side. Before long, Capt Shadowmax discovered they had been drawn into a trap.(And the Rum was now gone....why is the Rum always gone?)

The "Lucky Jack" got off a good first volley, but to no avail. The Vic II brought down the side shields with a devastating medium range shot, and followed up with shots from the other Vic I's, left the Rebel Flagship down to 3 hull.

The rest of the Rebel fleet managed to cut down one of the Vic I's with bwings and Skywalker. However Adm Bonners Rymer Ball destroyed "the Lucky Jack", forcing the other rebels ships to retreat. I guess we won't be getting through this blockade !!!....

The Rebel fleet picked up Capt Shadowmax floating in one of the escape pods from his vaporized Flagship where he managed to find......you guessed it....the last stashed bottle of Rum......(defeat isn't so bad when one has Rum) 

Empire Victory

Mordy(Shadowmax)

Saturday, October 17, 2015

Imperial war engine grinding to a halt in the Dellalt system

. . . Imperial Navy probed Rebel lines. . . 

Alliance Free News interrupts your standard Imperial propaganda to bring you this story. 

Destruction of an Imperial Star Destroyer at the hands
of the combined firepower of the Blue Fleet
News from the Dellalt system has come in from one of our reporters on the flagship of Admiral Akbar who was overseeing Commander Lyraues's efforts and pushing the Imperial warmongers out of the Mon Calamari sector, one system at a time. 

Through the expert teachings of Admiral Akbar, Commander Lyraeus was able to dispatch not one but two Imperial Class Star Destroyers commanded by Commodore Ozzel. The battle had little casualties for our brave combatants in the Blue Fleet. 


While Commodore Ozzel's use of the aggressive Tarkin philosophy failed him in this battle, we have heard that he is being promoted to the position of Admiral of Darth Vader's "Death Squadron". We hope that his ineptitude continues to favor our cause in the future and wish the good Commodore luck and long life in his new position.


With the combat growing fiercer in the sector,we hope to bring you more news from the front lines. 


This is Alliance Free News the voice of the Rebellion signing off. 

. . . commission at the head of Lord Vader's personal squadron of star destroyers. . . 


HNN Article: Empire Gathers Valuable Intelligence on Mon Calamari Forces

System: Dellalt
WINNER: Lyraeus (Rebels)
POINTS: 400
OBJECTIVE: Advanced Gunnery

398pts IMPERIALS: Mikael (First Player)

Imperial II-class Star Destroyer (Objective ship)
     Admiral Ozzel
     Phylon Q7 Tractor Beams

Imperial I-class Star Destroyer 
     Engineering Captain
     Phylon Q7 Tractor Beams
     Devastator

Imperial Raider: Raider II-class Corvette (48)

Squadrons:
"Howlrunner"
Tie Fighter Squadron
Tie Fighter Squadron 

398pts REBELS: Commander Lyraeus (Second Player)

MC80 Assault Cruiser (Blue Citadel - Objective Ship)
     Advanced Projectors
     Electronic Countermeasures
     XI7 Turbolasers 
     •Admiral Ackbar
     •Home One 

Assault Frigate Mark IIB (Blue Majesty)
     Advanced Projectors
     Gunnery Team
     XI7 Turbolasers

Assault Frigate Mark IIB (Scars of Freedom) 
     Advanced Projectors
     Gunnery Team 
     XI7 Turbolasers

Squadrons:
Tycho Celchu (Riuka Nadori) - Lightning Squadron
A-Wing - Tornado Squadron
A-Wing - Barracuda Squadron 

This game was a fun for me in all honesty. I was intimidated because Mikael was bringing two Imperial Star Destroyers to the fight and the last time I had faced one of those I was destroyed horrendously. 

So we flipped for who would get to pick for initiative since we were tied (Mikael usually likes maxing points so this usually does not happen). Mikael won the flip and decided to go First and he choose my Advanced Gunnery. . . Immediately I was suspect of him but at the same time really elated. Of course I chose my Assault Cruiser to be the objective ship because shooting 6 red dice out of my side arc twice is always a great thing. I will say, Advanced Gunnery is ALWAYS a good choice for the MC80 even if you are first player because that HUGE side arc can usually see two hull zones on the same ship. 

So Turn 1 is going on and I have engineering commands for all my ships, I have decided to deploy them all horizontal to the table edge and going speed 2. Since Mikael had the Tractor Beams I really could not care less about them though. The plan was to stick as speed 2 and let the ISD's come to me. 

This planned worked well actually. Mikael started his ISD's at speed 1 and the Raider at 4. At turn 2 he got aggressive and usedused Ozzel to jump to speed 3 with the ISD's which brought the Devastator into all the firepower of my fleet.!. .  and it was then destroyed. . .  Ozzel is living up to his reputation. The Raider got nicked by the side of of the Assault Cruiser and wilted under its amazing close range firepower. . .  

My squadrons really did nothing this game and just hid in asteroids to negate the Swarm bonuses. Worked like a charm though I think I did lose one of them towards the end of the game. 

The last ISD survived till the end which had me worried because my lead Assault Frigate (Scars of Freedom) got to the point where damage was starting to be dealt to it and was even dammed by the remaining ISD. . . Sadly XI7 Turbolasers proved their weight in points several times over this game against both ISD's and it went down at last at turn 5.


Thursday, September 24, 2015

Rebel training operations

. . .sing the advantage after the. . . 

Alliance Free News interrupts your standard Imperial propaganda to bring you this story. 

To combat the heinous threat of the Empire the  commanders of the Alliance have conducted combat training for their fleets. Commander Lyraeus conducted one such exercise with Captain Iskandar's fleet. 

During the exercise, the B-Wing squadrons of Commander Lyraeus's fleet were able to "damage" and engage the Y-Wings of Captain Iskandar's fleet as well as cripple a hull zone of Iskandar's secondary Assault Frigate . 

Minamal damage was dealt to the forces of Commander Lyraeus though he did have to recall several squadrons who were "lost" in the exercise. 

While the combat was hot, Captain Iskandar had chose to delay his engagement by coming in from hyperspace at the far side of the "engagement zone". This allowed Commander Lyraeus to position his suqadron screen and get the first strike onto Captain Iskandar's secondary Assault Frigate.

At the end of the exercise, both of Commander Lyraeus's ships were still in good fighting form while the secondary Assault Frigate from Captain Iskandar was forced to leave the exercise due to simulated destruction.

AFN was able to get a comment from the good Captain. 
         "While the exercise did not go in my favor, I was able to learn much from the Commander and look forward to conducting future exercises to hone my skills as a fleet officer."

This is Alliance Free News the voice of the Rebellion signing off. 

. . .lenient on the wayward Mon Calamari. . . 

System: Unknown
WINNER: Lyraeus (Rebels)
POINTS: 300
OBJECTIVE: Minefields 

299pts REBELS: Captain Iskandar
Assault Frigate mkii B (Bentley Priory)
     Garm Bel Iblis
     Weapons Liaison 
     Gunnery Team
     Advanced Projectors
     Enhanced Armaments

Assault Frigate mkii B (unnamed) *
     Weapons Liaison 
     Gunnery Team
     Advanced Projectors
     Enhanced Armaments

Squadrons:
Tycho Celchu *
A-Wing *
A-Wing *
Y-Wing 
Y-Wing 
Y-Wing 
Y-Wing

299pts REBELS: Commander Lyraeus 
Assault Frigate mkii B (Blue Majesty)
     Garm Bel Iblis
     Gunnery Team
     Advanced Projectors
     Enhanced Armaments

Assault Frigate mkii B (Scars of Freedom)
     Weapons Liaison 
     Gunnery Team
     Advanced Projectors
     Enhanced Armaments

Squadrons:
A-Wing *
A-Wing *
B-Wing
B-Wing *
B-Wing
B-Wing

Saturday, September 19, 2015

Staggering skirmish in the Mullan System

. . . Rebel activity in the Caluula system. . .


Alliance Free News interrupts this heinous Imperial propaganda broadcast to bring you 

We have been brought stunning news from the front lines of the struggle for freedom. We have been informed that Captain Shadowmax has destroyed an Imperial task force in the Mullan system. 

The reports indicate that while the Carrier Assault Frigate attached to Captain Shadowmax's combat group did take a beating from the Imperial task force, it was able to limp away from the combat. The rest of the combat group was then able to decimate the Imperial task force that included the flagship of the known Admiral Ricktus. 

While we have confirmed, that Admiral Ricktus was able to get his flagship out of the battle and into dry dock, we do know that it will be several months of repair work to be in any operational condition. 

This is a momentous victory for the Alliance. Destroying three of the Empire's  "Star Destroyers" is a victory that will be talked about for years to come and will help in the fight to end the tyranny of the Empire.

We will bring more information on this as we get more news from the front. 

This is Alliance Free News the voice of the Rebellion signing off. 


. . .reporting done by the Rebellion's mouthpiece. . .

System: Mullan
WINNER: Rebels
POINTS: 400 
OBJECTIVE: Hyperspace Assault

396pts EMPIRE: Richard 

Victory II-class Star Destroyer
     Admiral Screed
     Intel Officer
     H9-Turbolasers
     Warlord

Victory I-class Star Destroyer
     Intel Officer
     Assault Concussion Missions

Victory I-class Star Destroyer
     Intel Officer
     Assault Concussion Missions

Gladiator I-class Star Destroyer
     Wulff Yularen
     Engine Techs
     Assault Concussion Missions
     Demolisher


397pts REBELS: Captain Shadowmax

Assault Frigate mkii A (Lucky Jack)
     General Dodonna
     Raymus Antillies
     Gunnery Team
     Advanced Projectors
     Enhanced Armaments

Assault Frigate mkii B
     Adar Tallon
     Flight Controller
     Expanded Hanger Bay
     Advanced Projectors

CR90 B
     Dodonna's Pride
     Nav Team

CR90 A
     Jaina's Light
     Leia Organa

Luke Skywalker
Tycho Celchu
A-Wing
A-Wing
A-Wing
     

Sunday, September 13, 2015

Flare up in the Caluula System

. . .Rebel advances in the Gbu syste. . . 

Alliance Free News interrupts this Imperial propaganda to bring you important news. 


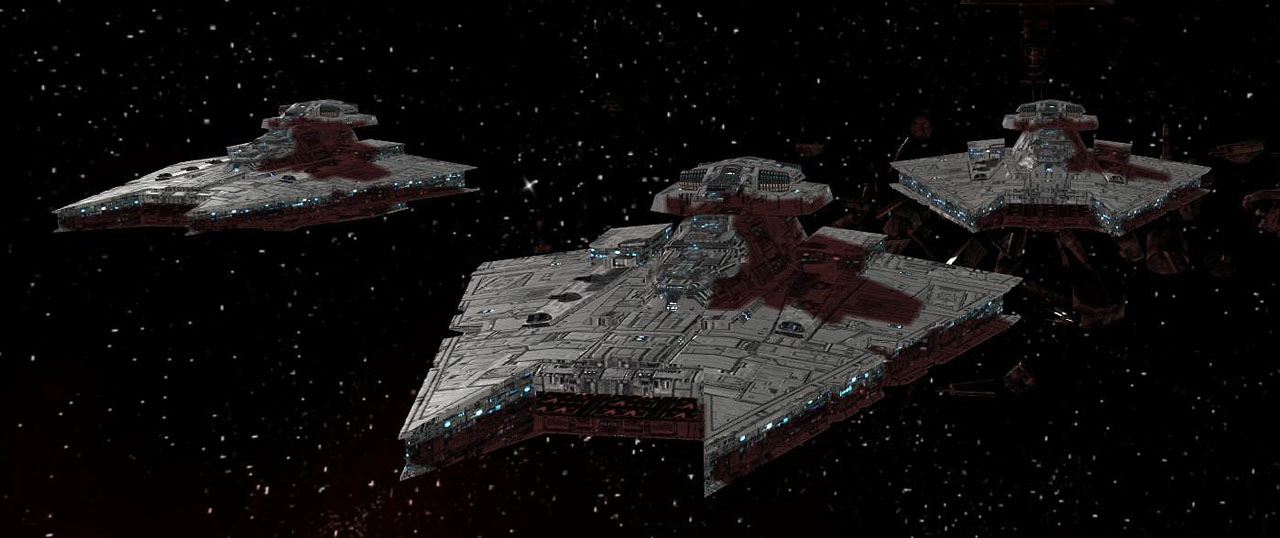
Gladiator Star Destroyers moving in for the attack
We have reports of a conflict between Commander Lyraeus in the Caluula system. During a blockade run to bring much needed supplies from interested parties to the Mon Calamari system, Commander Lyraeus encountered several Imperial Gladiator Star Destroyers that were beleaguering the trading station in the area. 

We have reports that Commander Lyraeus was able to fend off the Imperials attacks through the use of his flagship Blue Majesty and her sister ship Scars of Freedom. These two modified Assault Frigate mkii B's were backed up by two squadrons of A-Wings, and four squadrons of Y-Wings. 

There was fierce battles around the station that was surrounded by asteroids and debris fields. Riuka Nadori led Lightning Squadron, made up of A-Wings, to assist the host of Y-Wings in damaging the Imperial flagship as well as injuring the Gladiator known as the Demolisher. Scars of Freedom suffered some damage causing it to leave the battle when the Imperial forces retreated. 

Due to the heroic efforts of the this task force, the Imperial forces in the area were forced to retreat with severe hull damage and blown shield projectors, This is a tremendous victory for the Alliance as it takes these dangerous Imperial forces off the front lines. This loss of battle ready ships for the Imperial forces will erode their control of the sector. 

We will bring more information on this as we get more news from the front. 

This is Alliance Free News the voice of the Rebellion signing off. 

. . . he Veubgri, are deemed ideal for hard labor. . . 

System: Caluula 
WINNER: Rebels
POINTS: 300 
OBJECTIVE: Contested outpost

300 pts EMPIRE: Henry 
Gladiator I-class Star Destroyer
     Grand Moff Tarkin
     Expanded Launchers
     Sensor Team
     Engine Techs
Gladiator I-class Star Destroyer
     Weapon Liaison
     Expanded Launchers
     Sensor Team
     Engine Techs
     Demolisher
Gladiator I-class Star Destroyer
     Weapon Liaison
     Expanded Launchers
     Sensor Team
     Engine Techs

296 pts REBELS: Damion  

Assault Frigate mkii B (Blue Majesty)
     Garm Bel Iblis
     Intel Officer
     Gunnery Team
     Advanced Projectors
     Enhanced Armaments
     
Assault Frigate mkii B (Scars of Freedom)
     Intel Officer
     Gunnery Team
     Advanced Projectors
     Enhanced Armaments

Tycho Celchu (Riuka Nadori) - Lightning Squadron
A-Wing - Tornado Squadron
Y-Wing - Amber Squadron
Y-Wing - Cobalt Squadron
Y-Wing - Deep Squadron
Y-Wing - Storm Squadron


Saturday, August 29, 2015

Mon Calamari's desires freedom

. . . the Mon Calamari government I. . . 

Alliance Free News interrupts this Imperial propaganda to bring you important news. 

The Mon Calamari of the Mon Cal system are rising up to declare the desire for independence from the oppression known as the Galactic Empire! 

We from AFN rejoice with their decision to remove the chains of slavery from their people. 

With this new turn of events, it looks like the Rebel Alliance will assist and support the Mon Calamari in their quest for freedom. 

The Mon Calamari are a strong people who have created magnificent works of art in all that they create. From their homes under the waves on Mon Cal to their star ships. They create uniques works of art that are celebrated throughout the known worlds. 

The Imperial Navy has stated that the Mon Calamari are only worthy of destruction which shows their natures as destroyers and as the villans they are. 

The Imperial Navy states that the ships created by the Mon Calamari people are no threat to them, they say the same about the Alliance and yet they are unable to crush our aspirations to rid the universe of their tyranny!

We will bring more information on this as we get more news from the front. 

This is Alliance Free News the voice of the Rebellion signing off. 

. . .by the Empire is not ultimately enough. . .  

We learned that wave 2 is right around the corner! To add to that we have confirmation on an exciting event that will be occuring! The Massing at Sullust event will have a single expansion of each individual expansion that will be coming out in wave 2!

This event will be held in select stores around the world (as far as we know) and it will consist of two stages.

Stage 1 will be a standard Swiss tournament rounds at 300 points. There will be a limit of 16 people per kit which is to make sure that everyone attending gets something! The top 2 from the Swiss rounds will move on to stage 2.

Stage 2 will consist of each player choosing a different faction (One Imperial, one Rebel) and building a list that uses the two ships from that faction as well as at least one of the squadrons from the squadron pack that is in wave 2.

The lists created will be at 400 points and the two players will battle it out, the winner getting to choose the first of the 5 expansions that they will walk away home with! 

Players 2, 3, and 4, then get to pick in their respective orders and the Tournament Organizer will get the remaining expansion. 

For locations in the Portland - Vancouver region, see the HNN link at the bottom of this article. Feel free to ignore their incessent ranting. 


Interrupted HNN article